
Throttle Body Cleaning: Inspect, Clean and Verify the Fix
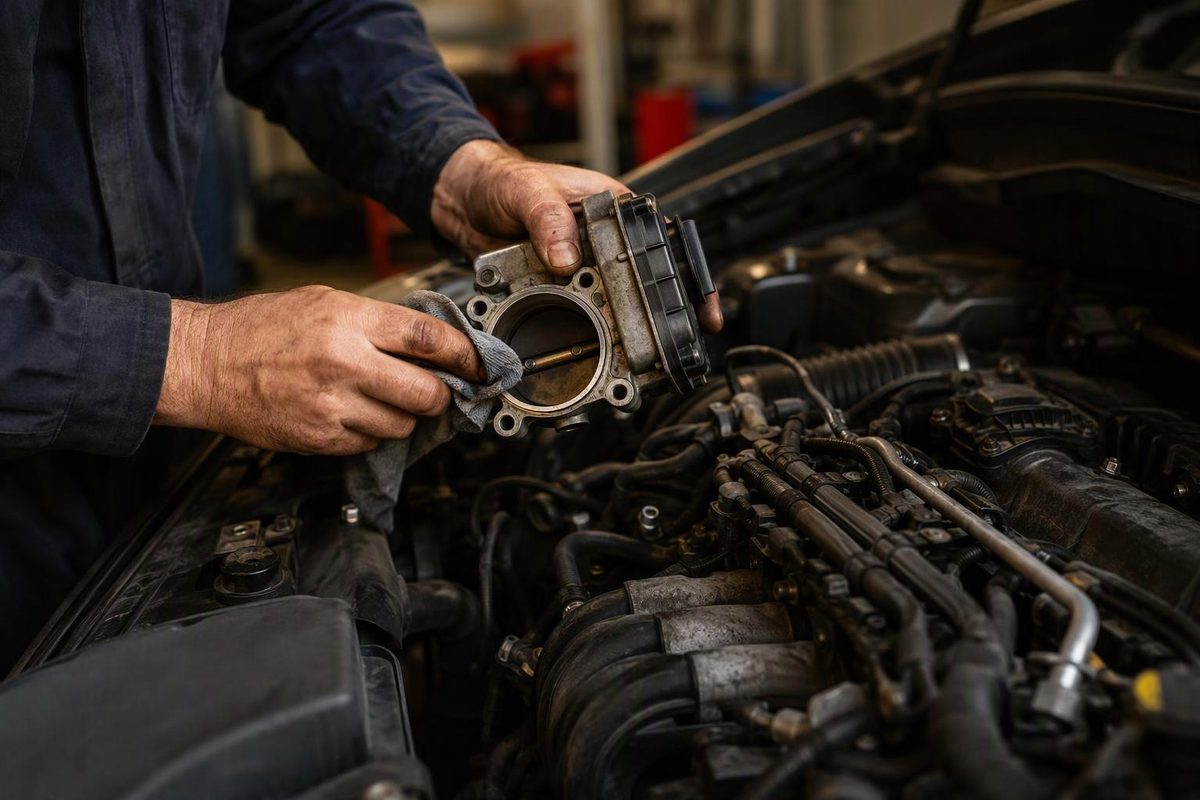
Decide when throttle body cleaning is justified, protect electronic throttles, follow the right relearn, and check whether the original symptom is fixed.
Throttle body cleaning is justified when deposits on the plate and bore fit the diagnosed airflow or idle problem—not simply because the engine runs rough. The job is to remove deposits without damaging the coating, motor or sensors, then complete any required idle adaptation and retest the original symptom.
This guide covers gasoline-engine throttle bodies. Use a separate, engine-specific procedure for diesel intake throttles and EGR-related deposits. The sequence below is a planning guide, not a replacement for the vehicle’s service procedure.
Check whether cleaning fits the fault
Before disconnecting anything, record the vehicle’s year, model and engine, then establish a baseline:
- Save all trouble codes and available freeze-frame data before clearing them.
- Note whether the problem occurs cold, fully warm, with A/C on, during initial acceleration or when slowing to a stop.
- Record warm idle RPM, gear position and accessory load. If supported, save commanded idle RPM and throttle-position data for comparison afterward.
- Inspect the intake duct, clamps, disconnected hoses and electrical connectors. Correct an obvious installation or connection fault before treating deposits as the cause.
Carbon can matter. For the V8 applications listed in GM bulletin PIP4578B, including 2006–2018 Chevrolet Tahoe models, GM explains that the controller compensates for buildup by increasing throttle angle. Heavy deposits can accompany idle surge, hesitation or reduced-power complaints. But the bulletin calls for service-information diagnosis first, followed by inspection for obvious carbon if that diagnosis does not isolate the cause. It does not make every listed code proof of a dirty throttle body. GM PIP4578B
With the engine and throttle actuator safely disabled according to the service procedure, inspect the bore and plate edge using a flashlight. Look for accumulated deposits around the area where the plate nearly closes, rather than judging only the exposed front face. Do not move the plate until you have confirmed the handling instructions below.
Stop point: If there is little buildup, or testing points to a misfire, air leak or electrical fault, continue that diagnosis. Cleaning is not a substitute for testing those systems. If RPM stays steady but vibration reaches the seat or body, use the separate engine vibration at idle diagnostic path.
Get the vehicle-specific procedure before opening the plate
Confirm these items before starting:
- Whether cleaning is permitted and which cleaner is approved.
- Whether the throttle body must be removed.
- How to disable the electronic actuator, including any battery-disconnection requirements.
- Whether manual plate movement is permitted.
- Gasket replacement, fastener torque and post-cleaning relearn requirements.
Do not assume an electronic throttle plate can be pushed open by hand. For example, within its wider carbon-removal procedure, Subaru bulletin 02-193-24R includes a throttle-cleaning step that specifies removing the throttle body, wiping from both sides and not opening or closing the valve manually. Its listed applications include 2019–2024 Forester 2.5L naturally aspirated models. A generic instruction to “hold the butterfly open” would conflict with that procedure. Subaru cleaning instructions, step 22
If you cannot confirm the handling instructions or obtain the required relearn tool, pause before cleaning.
A controlled cleaning sequence
Have the approved throttle-body cleaner, clean lint-free cloths, eye protection, suitable gloves and the correct duct-fastener tools ready. Work with a cool engine outdoors, away from flames, sparks and smoking; the solvent is flammable. Mobil safety guidance
- Disable the vehicle as specified. Switch it fully off and follow the service procedure for actuator isolation. Save diagnostic data before any required battery disconnection; disconnecting the battery is not a universal relearn method.
- Remove the intake duct carefully. Label hoses if necessary. Keep dirt, fasteners and tools out of the intake. Remove the throttle body only as directed, using the specified seal and torque requirements during reassembly.
- Apply cleaner to the cloth, then wipe. Clean the accessible plate surfaces, edge and adjacent bore with light pressure. Access the reverse side only by the manufacturer-approved method. Do not flood the shaft or electronics.
- Preserve the surface finish. Do not scrape deposits with metal tools or use sandpaper, wire brushes or scouring pads. Use the approved cleaner—not an improvised brake- or carburetor-cleaner substitute. Cleaner manufacturer CRC warns against harsh substitutes and abrasive tools that can damage coatings. CRC cleaning precautions
- Remove residue and reassemble. Wipe away remaining liquid and allow drying as directed. Account for every cloth and tool. Refit all hoses, connectors and duct joints, then tighten fasteners to the applicable specification.
The cloth method protects more than the intake manifold. Toyota’s 2015 tech tip for its listed electronic-throttle applications warns that directly sprayed chemicals can carry contamination through the shaft and damage the motor or position sensor. That historical tip is not a universal procedure for newer Toyotas, but it identifies a concrete reason to avoid flooding the assembly. Toyota T-TT-0362-15
Relearn, then repeat the original test
Follow the exact throttle/idle adaptation procedure for the vehicle. Do not substitute a generic pedal sequence, battery reset or timed idle.
For the applications covered by PIP4578B, GM specifies a Tech 2/GDS idle-learn reset after cleaning. Without it, the controller may retain compensation for the old deposits and produce another idle complaint or codes such as P0506 or P0507. GM relearn requirement
Once adaptation is complete, repeat the baseline conditions: same engine temperature, gear and accessory load. Compare actual idle with the manufacturer’s specification or commanded idle where available, check for returning codes, and confirm whether the surge, hesitation or stalling is gone. Road-test only if the vehicle idles safely and responds normally.
If idle is worse, first recheck disturbed duct joints, hoses and connectors and confirm the required relearn was completed. If the original fault remains, return to its diagnostic procedure rather than repeatedly applying solvent or buying a throttle body. Owners of GM LT-engine vehicles can continue with LT throttle-body failure diagnosis.
There is no mileage interval to apply across every vehicle. Use the exact manufacturer schedule and service information, with inspection and symptoms guiding any additional cleaning.