
Clean Fuel Injectors With a Test, Not a Guess
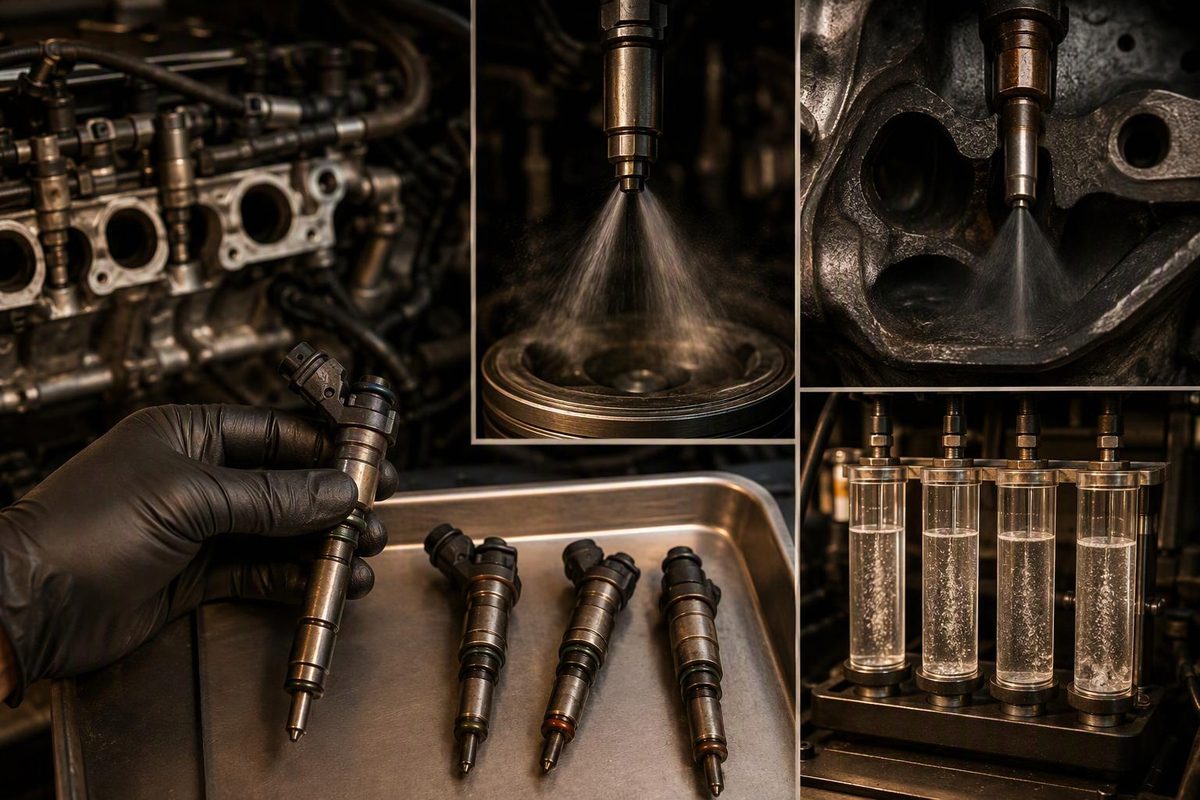
Match injector cleaning to port injection, GDI or diesel. Learn when tank additives help, when professional testing is needed, and how to verify results.
The simplest DIY way to clean fuel injectors is an in-tank cleaner permitted by your vehicle manufacturer, used exactly as labeled. Treat it as a deposit-cleaning trial—not proof that an injector was faulty. A confirmed restriction may need approved on-car cleaning or professional removal, testing and cleaning. Solvent will not repair damaged wiring, a cracked injector or worn internal parts.
Before choosing a method, identify the model year, engine code and injection system. “Fuel injected” alone does not tell you which equipment, solvent or removal procedure is safe.
Select your injection system, symptoms and test finding to choose the next step.
Choose a Cleaning Route
Next step
Diagnose Before Blaming Deposits
A manufacturer-permitted gasoline tank cleaner is an optional deposit-cleaning trial, not proof of an injector fault. Follow its label; test fuel supply, electrical operation and delivery before escalating.
Port-injection canister cleaning needs the exact vehicle procedure, approved fluid, adapters and pressure. No universal dose or cleaning pressure is supplied here.
Sources: vehicle-specific guidance governs; Delphi injector guides, GM bulletin 04-06-04-051H, Chevron use guidance and OTC 7448 instructions cited in the article.
Identify the System Before Choosing a Cleaner
| System | Fuel Delivery | Cleaning Route |
|---|---|---|
| Gasoline port injection | Into intake ports, upstream of valves | Compatible additive; approved on-car or bench service |
| Gasoline direct injection (GDI) | Into combustion chambers | Compatible additive; approved service or GDI-capable bench testing |
| Common-rail diesel | Into combustion chambers under high pressure | Approved diesel treatment or specialist service |
Some gasoline engines use both port and direct injectors. Delphi explains these differences and the need for different gasoline and diesel testing equipment and fluids in its injector testing guidance.
Do not start a cleaning trial if fuel is leaking, the engine misfires severely, or the check-engine light flashes. Reach a safe stopping place and diagnose the urgent fault first. See what a flashing check-engine light means and safe checks when a car smells like gasoline.
Cleaning is not automatically scheduled maintenance. For example, GM bulletin 04-06-04-051H, covering 2024 and prior GM passenger cars and trucks, approves injector-cleaning service only when directed by a published drivability or trouble-code diagnostic procedure. It treats permitted tank additives separately. Follow your vehicle’s guidance rather than a generic cleaning interval.
Test Before Blaming Injector Deposits
Rough idle, hesitation and misfire are reasons to investigate—not proof that injectors are dirty.
- Record the complaint. Does it occur during cold starting, hot restarting, warm idle or acceleration? Save trouble codes and freeze-frame data before clearing anything.
- Check competing causes. Follow the applicable diagnostic procedure for ignition, air leaks, compression and injector electrical control. Cleaning solvent is not an electrical repair.
- Verify fuel supply. Compare measured pressure with the engine’s specified pressure under the relevant operating conditions. On GDI and common-rail systems, distinguish low-side supply from high-pressure rail operation. Start with fuel-pressure diagnosis if supply pressure is suspect.
- Test injector delivery. Use the manufacturer-supported balance, contribution or bench test—not sound alone.
On a supported port-injection balance test, each injector receives the same pulse sequence from the same starting fuel pressure. Pressure drop = starting pressure − pressure after the injector pulse.
Compare results against that engine’s service limits. A smaller drop can indicate restricted delivery, but verify electrical operation and test conditions before choosing cleaning. This principle is documented in ACDelco’s 2004 injector balance explanation; its application-specific limits are not universal specifications.
For common-rail diesel, back-leakage testing and electrical-integrity checks help separate deposits from worn or failed injectors. Delphi recommends these checks before treating early-stage valve lacquering with specialist solvent equipment in its common-rail service guidance.
Method 1: Use a Compatible In-Tank Cleaner
Use this approach for a compatible deposit-cleaning trial when there is no urgent fault requiring repair. You need the vehicle’s additive guidance, a cleaner labeled for the correct fuel and injection system, and the label’s treatment quantity and required amount of fuel.
- Check compatibility. Confirm gasoline versus diesel, permitted fuel blends and manufacturer restrictions. Do not assume one bottle suits both fuels.
- Read the dose before opening the bottle. Match the cleaner quantity to the amount of fuel specified on the label—not simply to tank capacity.
- Add it in the stated sequence. Chevron, for example, instructs users to pour the recommended Techron treatment into a nearly empty tank, then fill with fuel to aid mixing. Follow another product’s own directions if they differ.
- Drive normally if the vehicle is safe to drive. Follow label-specific operating instructions; do not invent a high-RPM cleaning routine.
- Recheck the original symptom and data after treatment. If it has not improved, return to diagnosis rather than repeatedly adding stronger doses.
Chevron warns that excessive treatment can cause oil thickening and fuel dilution; cleaner is not a fuel replacement. These instructions appear in its official use guidance. Its Complete Fuel System Cleaner is listed for gasoline engines, including direct injection, but not recommended for diesel engines. This is a compatibility example, not a product ranking. There is no universal treatment dose here: use the chosen product’s label.
GDI Intake-Valve Carbon Needs a Separate Diagnosis
On an engine using direct injection only, fuel bypasses the backs of the intake valves, so an in-tank additive does not wash those surfaces. CRC’s GDI guidance explains this distinction. Do not confuse injector cleaning with intake-valve cleaning.
Method 2: Use Only Approved On-Car Equipment
A pressurized cleaning canister can feed cleaning fluid through a compatible gasoline injection system while the normal fuel supply is isolated. It is not a universal rail-flushing procedure.
Before connecting anything, you need the exact vehicle procedure, approved cleaner, correct adapters and specified cleaning pressure. Fuel-pump disabling and return-line handling vary by system.
The OTC 7448 instructions, for example, require pressure relief before servicing, eye protection, secure connections, exhaust vented outside and a Class B fire extinguisher. They specify gasoline engines only, prohibit ignition sources and warn against exceeding recommended pressures.
Stop if the tool’s application guidance and vehicle service information do not support the job. Do not connect a port-injection canister to a GDI high-pressure rail or common-rail diesel system. Do not improvise hoses, pressure settings or solvent mixtures. This method is not a suitable DIY shortcut when the required procedure or equipment is missing.
Method 3: Remove Injectors for Professional Testing and Cleaning
Bench service is useful when you need to establish whether cleaning restores delivery. Ask the shop for before-and-after flow results under identical test conditions, a spray-pattern assessment, leakage and electrical-test results, and a clear pass/fail decision for each injector.
Appropriate equipment can provide controlled flushing or ultrasonic cleaning. Delphi’s injector cleaning guidance describes reverse flushing, while ASNU’s equipment brochure describes an ultrasonic cleaning bath and injector-specific electrical control. The shop must confirm that its equipment and process support the exact injector design.
Ask Which Operating Conditions the Bench Test Covers
The ASNU Classic GDI, for example, compares injectors at pressures up to 10 bar, below their on-engine high-pressure operation. A satisfactory low-pressure comparison alone does not establish that a GDI injector passes every operating-pressure requirement.
Removal still requires the engine-specific pressure-release procedure. Work on a cold engine, keep contamination out of open connections, and replace required seals and single-use components according to service information. Check whether special installation tools or injector correction-code programming are required. Do not spray-test an injector in open air or energize it with improvised battery leads.
If testing finds water, debris or wear, address the contamination source as well as the injector. Delphi identifies particle and water contamination as causes of common-rail injector damage—not merely removable deposits.
Verify Cleaning With the Original Test
After any opened fuel connection, check for leaks before returning the vehicle to service. Repeat the original test under the same temperature, RPM and load conditions. Compare misfire counts, relevant fuel trims, pressure behavior and injector-test results.
For a confirmed injector fault, successful cleaning should improve the symptom and return the failed measurement within the vehicle’s specified limits. If delivery, leakage or electrical integrity still fails, choose repair or replacement based on that result—not another bottle.