
Confirm the Water Pump Fault Before You Replace It
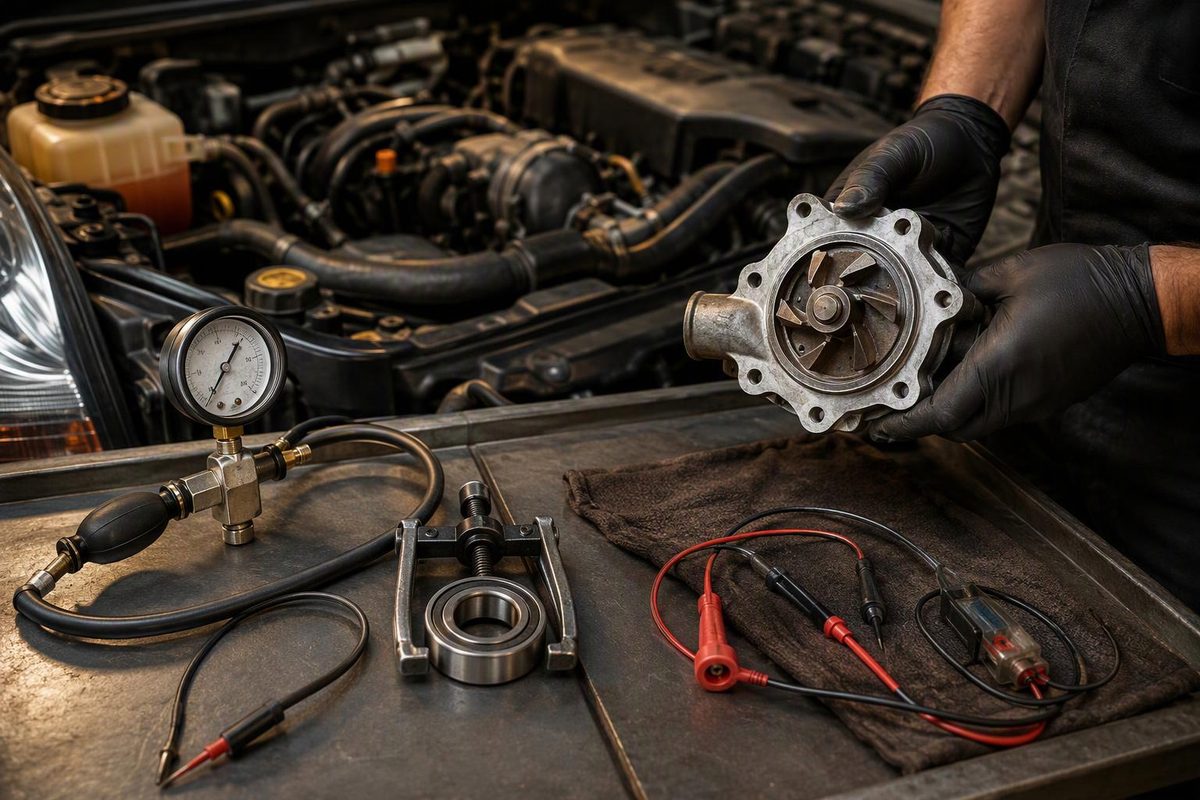
Use pressure, bearing and circuit tests to pinpoint a failed water pump, then follow vehicle-specific replacement, bleeding and verification steps.
Automotive water pump repair usually means replacing the pump assembly, but overheating, coolant residue or a pump-related trouble code does not prove the pump has failed. Replace it only after confirming an active pump leak, a bad bearing or shaft, or inadequate operation after checking the rest of the cooling system and, where applicable, the pump’s electrical circuit.
Choose the strongest test finding; the tool shows whether it supports pump replacement.
Does the Evidence Support Replacement?
Select the strongest finding from testing, not the original symptom.
Clean and dry the area, then perform the specified cold pressure or coolant-loss test. Dry or waxy residue alone is weak evidence.
Sources: Ford coolant-pump inspection bulletin, Gates water-pump diagnostic guidance and Audi TSB 2068363/2 cited in the article.
Stop the Engine Before More Damage Occurs
Shut the engine off if the temperature warning appears, the gauge enters the hot zone, steam is present or coolant is rapidly escaping. A wobbling pump pulley or coolant-soaked drive belt is also a reason not to continue running the engine.
Work only on a cold cooling system. A hot pressure cap can release pressurized coolant. Ford owner guidance, for example, says to let the engine cool and unscrew the cap slowly so pressure can escape. The correct coolant remains vehicle-specific (Ford engine-coolant guidance).
Identify the Pump Design Before Disassembly
Use the VIN, model year and engine code to obtain the correct service procedure. The job differs substantially among:
- Accessory-belt-driven pumps, which may be visible and relatively accessible.
- Timing-belt- or timing-chain-driven pumps, where removal may disturb valve timing and require locking tools or new one-time-use fasteners.
- Electric or variable-output pumps, which require circuit and scan-tool tests and may have a commanded bleeding routine.
- Internal or concealed pumps, where coolant may not leave an obvious puddle and major disassembly may be necessary.
There is no universal bolt torque, sealant, coolant or bleeding sequence. Find the procedure for the exact engine before disassembly.
Prove Where the Coolant Originates
With the engine cold, record the reservoir level. Inspect the pump, vent or weep hole, mounting flange, nearby hoses, thermostat housing and components above it. Coolant can travel along a casting and collect at the pump even when the leak begins elsewhere.
Clean the suspected area. Then perform a cold cooling-system pressure test using the vehicle’s specified pressure and the tester manufacturer’s instructions. Do not exceed that pressure. Look for fresh wet coolant rather than relying on an old stain.
Dry residue alone does not always condemn a pump. Ford documents that slight dried residue around the weep-chamber vent of some pumps can be normal. Its procedure is to dry the housing, perform the specified coolant-loss test and wipe the pump with a clean towel: a wet towel supports replacement, while dry or waxy residue does not (Ford coolant-pump inspection bulletin).
McLaren likewise requires technicians to clean and reproduce a suspected leak on its affected pump design because normal seal lubrication can leave staining around evaporation chambers (McLaren pump-leak procedure). These procedures are design-specific, but they show why residue alone is weak evidence.
| Test Result | Next Step |
|---|---|
| Coolant repeatedly emerges from the weep hole after cleaning and retesting | Follow the vehicle procedure for pump replacement |
| Coolant emerges at the pump-to-engine joint | Inspect the seal, specified sealant, fasteners and mounting surface |
| The pump stays dry while another fitting becomes wet | Repair that leak; do not replace the pump |
| Pressure falls with no visible leak | Check the tester, pressure cap and concealed external areas; if those pass, continue internal-leak diagnosis |
For a newly installed conventional pump, brief initial weep-hole moisture may be part of seal break-in on some designs. Gates specifies about ten minutes for the pumps covered by its guidance; continued drips or pronounced seepage after that are abnormal (Gates water-pump diagnosis). Follow the pump maker’s instructions rather than applying that interval universally.
Isolate Bearing and Drive Noise
On an accessible belt-driven pump, switch the engine off, let it cool and remove the drive belt only when the vehicle procedure permits. Turn the pulley by hand and check the shaft for roughness or side-to-side movement. Gates’ diagnostic guidance specifies no side play; rumbling or screeching localized to the pump also supports a worn bearing (Gates water-pump diagnosis).
Check the tensioner, idlers, alternator and A/C pulley at the same time. Noise can travel through the accessory drive, while pulley misalignment or excessive belt tension can shorten the replacement pump’s life.
Do not run the engine without its belt unless the manufacturer provides a specific test allowing it. The belt may drive essential accessories, and this method cannot isolate a timing-driven pump.
Overheating Alone Does Not Prove Pump Failure
A full reservoir and a hot engine do not establish failed circulation. Before condemning a mechanically driven pump, check:
- Coolant level and the specified concentration.
- Whether air was removed with the prescribed bleed procedure.
- Thermostat operation.
- Cooling-fan command and actual fan operation.
- External radiator blockage and possible internal restriction.
- Evidence of an internal leak or combustion gas if coolant is expelled or repeatedly lost.
- Trouble codes, applicable service bulletins and temperature-sensor plausibility.
The wider sequence is covered in cooling-system diagnosis before repair.
For an electric or auxiliary coolant-pump code, scan all relevant modules before clearing anything and save freeze-frame data. Follow the OEM test plan for the fuse, connector, power, ground, communication or control circuit, commanded operation, and available speed or current feedback. Do not probe high-voltage circuits unless the service procedure, training and protective equipment permit it.
Air can imitate an electric-pump fault. Audi TSB 2068363/2 applies specifically to the 2022–2023 Q4 e-tron and Q4 Sportback e-tron high-voltage battery coolant pump with DTC P0C4A00, P0CFF00 or P2B2800. It calls for checking battery temperature, running Guided Fault Finding’s bleeding routine twice and replacing the pump only if the fault returns (Audi TSB 2068363/2).
Do not apply that routine or its temperature range to an engine pump or another vehicle. The bulletin demonstrates why a code is not automatic proof of pump failure.
Replace the Pump Without Causing a Repeat Failure
Once testing supports replacement:
- Start cold and recover the coolant. Follow local disposal rules and keep coolant away from children and animals.
- Follow the exact access and timing procedure. Support the engine where specified and replace one-time-use fasteners when required.
- Inspect related components. Replace a contaminated or damaged belt. For a timing-driven pump, compare the belt, tensioner and idler service requirements with the work already needed.
- Prepare the mounting surface. Remove old gasket material without gouging the sealing face. Correct corrosion or damage rather than covering it with sealant.
- Install the specified new gasket or O-ring. Use sealant only when required. Excess can break loose inside the cooling circuit. Tighten the fasteners in the specified sequence and to the specified torque; Gates gives the same core cautions in its water-pump installation guide.
- Refill with the exact approved coolant. Do not select coolant by color or mix types unless the vehicle manufacturer allows it.
- Run the prescribed bleed routine. The system may require vacuum filling, a scan-tool command, heater-valve activation or repeated heat-and-cool cycles.
- Verify the repair. Check for leaks, monitor actual coolant temperature through warm-up, and confirm cabin heat and cooling-fan operation. After the engine cools completely, recheck the level.
The repair is complete only when the original leak, noise, code or temperature problem no longer returns. If overheating continues after a leak-free replacement and correct bleed, stop and resume diagnosis—the new pump does not prove the old one caused the fault.