
Car Leaking Antifreeze Underneath? Trace the Leak Before Replacing Parts
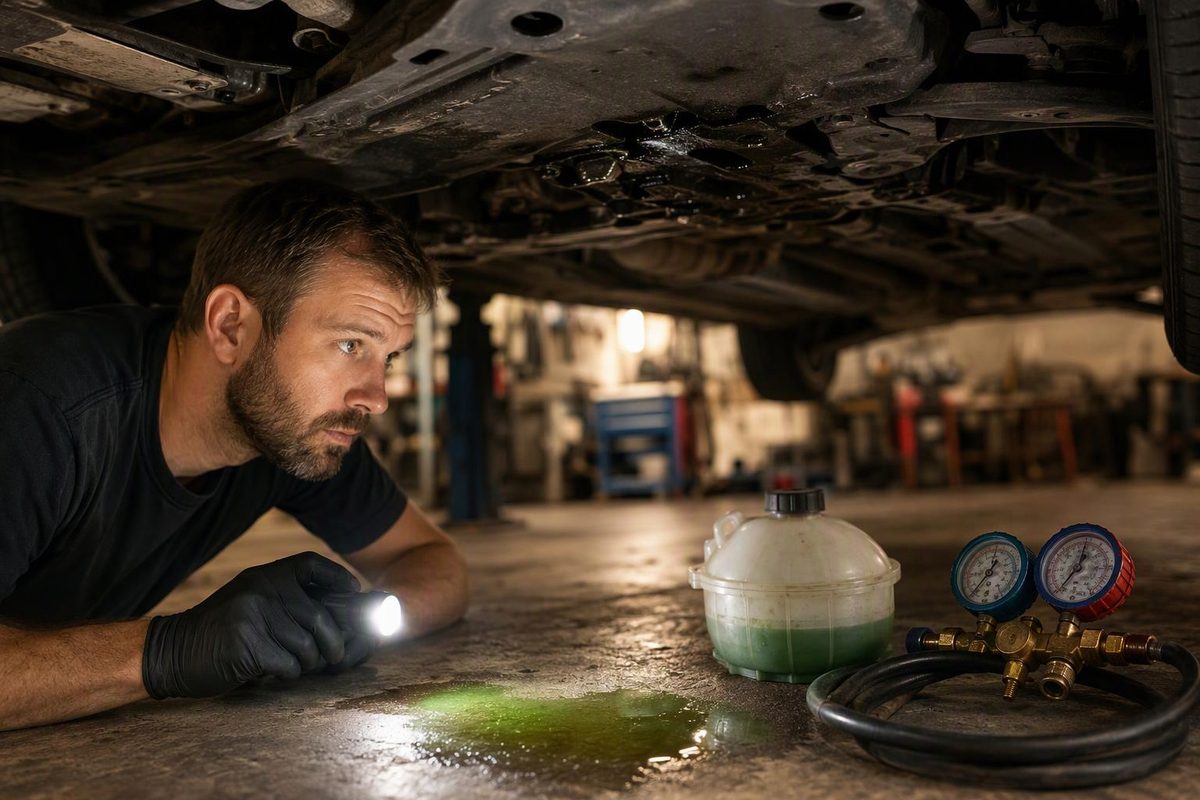
Identify coolant versus A/C water, know when to stop driving, and use cold inspection and pressure testing to locate an antifreeze leak.
If your car is leaking antifreeze from underneath, confirm the fluid, check the coolant level with the engine cold, then trace the leak to its source. A puddle alone does not prove the radiator or water pump has failed.
Stop driving if the temperature warning comes on, the gauge rises toward hot, steam appears, or coolant is pouring out. Move to a safe stopping place, shut the engine off and arrange assistance. Low coolant can cause overheating and engine damage; repeatedly topping it up is not a repair. RAC’s coolant-leak guidance recommends stopping and having the system checked rather than continuing with a known leak. Do not resume driving merely because the gauge still reads normal.
1. Make sure the puddle is coolant
Place clean white cardboard beneath the parked car to make fresh drips easier to see. Note the position, approximate amount and whether the puddle appeared after driving, overnight or immediately after cooling-system work.
- Clear, odorless water after using the A/C: Often normal condensation draining beneath the car.
- Colored liquid with a noticeable sweet odor: Suggests coolant, especially if the cold coolant level is falling.
- Dark, greasy liquid: More consistent with oil than coolant.
These are clues, not a definitive fluid test. Coolant comes in several colors, so green is not the only possibility. The AA’s fluid-identification guidance distinguishes clear, odorless A/C water from colored, sweet-smelling coolant.
Do not taste the fluid or deliberately inhale it at close range. Keep children and pets away. Absorb spills promptly and dispose of the material according to local rules; do not wash it into a storm drain. Ethylene-glycol antifreeze is highly toxic to pets. If a pet may have swallowed it, contact a veterinarian immediately. Pet Poison Helpline explains the risk and recommends immediate spill cleanup.
2. Check the level safely—with the engine fully cold
Park on level ground, switch the vehicle off and allow the cooling system to cool completely. Never remove a radiator or pressurized reservoir cap while the system is hot. Hot liquid and steam can escape forcefully, as Ford’s coolant-check instructions warn.
Locate the correct coolant reservoir using your owner’s manual—not the washer-fluid bottle. Read the level against the specified cold markings and photograph it. Follow the manual if the vehicle also requires checking coolant at another fill point.
An empty reservoir, rapidly falling level or active stream of coolant is a stop point: do not start the engine just to watch the leak. Arrange diagnosis or recovery.
If coolant must be added for a stationary inspection, use coolant meeting the vehicle’s exact specification and follow its filling instructions. Do not choose a replacement coolant by color alone or overfill the reservoir.
3. Trace fresh wetness—not just the lowest drip
With the engine cold and off, use a flashlight to follow wet tracks upward. Coolant may run along a housing or collect on an undertray before reaching the ground. The puddle’s position is a starting point, not a part diagnosis.
Keep hands away from fans and belts. If access underneath is necessary, use correctly rated lifting equipment and support stands at the vehicle’s specified lifting points, on a hard, level surface. Chock the wheels remaining on the ground. Never work beneath a car supported only by a jack. These precautions follow HSE’s guidance on working under vehicles.
| Inspection area | Evidence to look for before choosing a repair |
|---|---|
| Radiator hoses and connections | Fresh wetness at a hose split, clamp, quick connector or sealing joint |
| Radiator | Wetness originating at the core, tank seam, hose neck or drain fitting—not merely coolant dripping onto it |
| Reservoir and cap area | A wet tank seam, hose connection or coolant trail from the cap/vent; a trail alone does not establish cap failure |
| Thermostat housing and coolant outlets | Fresh leakage at the housing, flange or seal, including wetness above the pump |
| Water pump | An active leak from the pump’s vent/weep passage or mounting joint, distinguished from coolant arriving from elsewhere |
| Heater hoses and cabin | Wet firewall connections, sweet-smelling damp carpet or other evidence pointing toward the heater circuit |
Hoses, connectors, radiator damage and cap faults are recognized leak sources in RAC’s guidance. A heater-core leak can leave sweet-smelling coolant inside the cabin, according to the AA.
Do not condemn a water pump from a dry stain alone. US Motor Works distinguishes minor weep-hole residue from steady dripping or coolant loss. Its water-pump diagnostic bulletin also warns that hose, thermostat-housing and intake-manifold leaks can mimic pump failure. After recent service, clean residual coolant and recheck for fresh leakage.
4. If inspection is inconclusive, pressure-test the system
A cooling-system pressure tester can expose an external leak without running the engine. Use the service procedure for the exact year, model and engine. There is no universal test pressure or allowable pressure drop for every car. If you cannot obtain the prescribed pressure and test procedure, have a shop perform the test rather than guessing.
- Start with the system cold and depressurized; wear eye protection.
- Fit the correct adapter at the specified pressure-cap opening.
- Pump only to the manufacturer’s prescribed test pressure, within the tool’s limits.
- Record starting pressure, test duration and ending pressure. Look for fresh coolant at the suspected locations.
- Release pressure with the tester’s valve until the gauge reads zero before disconnecting it.
These steps follow Astro Pneumatic’s pressure-tester instructions, which expressly prohibit exceeding the vehicle manufacturer’s recommended pressure.
Interpret the result before buying parts:
- Pressure falls and a joint or component becomes wet: Trace the fresh leak to its origin. This is stronger evidence than an old stain.
- Pressure falls but nothing becomes wet: Check the tester and adapter seal, then investigate concealed leaks. A pressure drop alone does not prove a failed head gasket.
- Pressure holds but coolant still disappears: The cold test has not reproduced the fault. Some leaks occur only hot; a technician may need an operating-temperature inspection or approved UV dye. The water-pump bulletin describes both approaches.
Test the pressure cap separately when indicated: the system test replaces it with an adapter, so it does not test the original cap. Persistent coolant loss with no external source calls for further diagnosis, particularly if there is white exhaust smoke.
Repair the confirmed source, then verify
Repair the leaking hose, connector, seal, housing, radiator or pump supported by the inspection and test—not whichever part sits above the puddle. If testing confirms pump failure, use the water-pump replacement guide to identify the drive type and repair requirements.
Avoid treating stop-leak as the default fix. Ford’s cited coolant instructions specifically warn against cooling-system sealants and non-specified additives because they can damage cooling or heating components.
After repair, refill with the specified coolant, complete the engine-specific bleeding procedure, clean away old residue and repeat the leak test. Verify temperature behavior, then recheck the coolant level fully cold. Fresh wetness or continued coolant loss means the repair is not yet verified.