
Car Vibrates When Accelerating? Separate Engine, Axle, Tire, and Transmission Causes
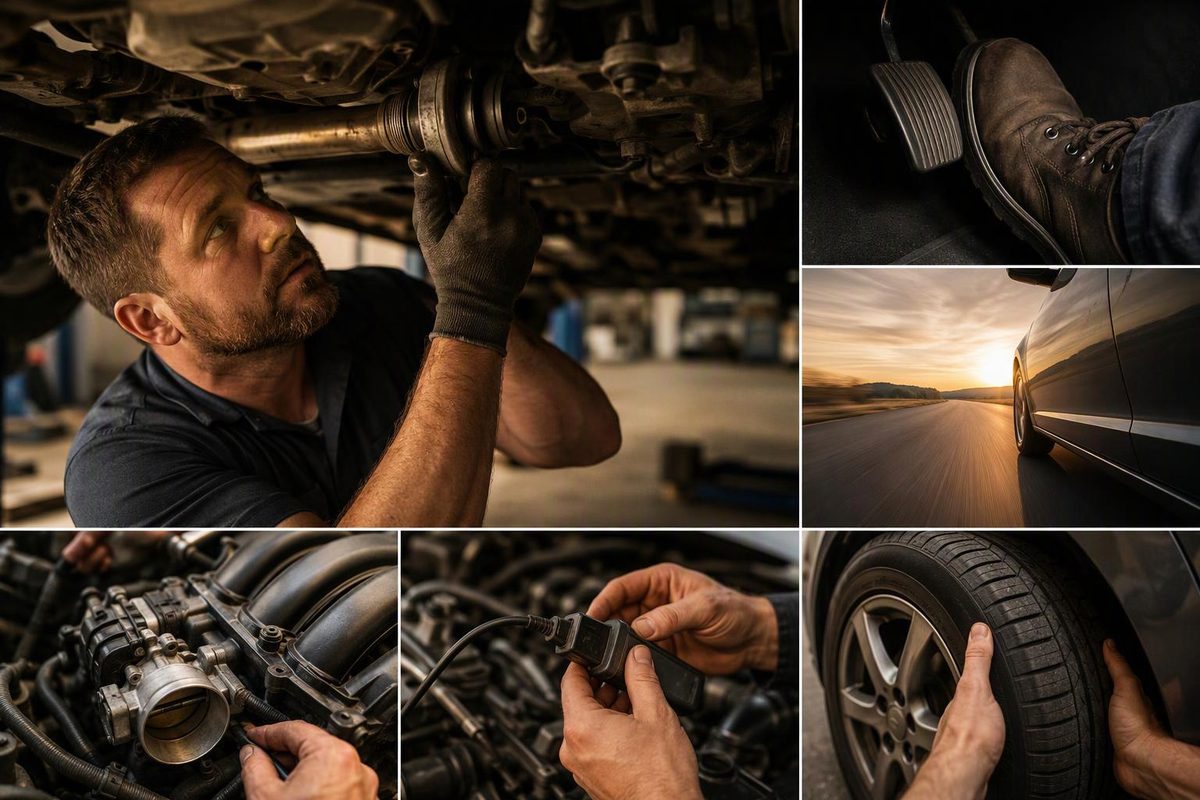
Use throttle, road speed, engine RPM, scan data, and inspection clues to isolate acceleration vibration before replacing parts.
A vibration that appears when you press the accelerator does not automatically mean bad tires, a CV axle, or a misfiring engine. First determine what the vibration follows:
- Throttle load: It starts under acceleration and fades as soon as you ease off.
- Vehicle speed: It remains at the same road speed whether accelerating, cruising, or coasting.
- Engine RPM: It appears near the same RPM in different gears or while the vehicle is stationary.
- Transmission operation: It occurs during a shift or during light-throttle torque-converter clutch operation.
That pattern is generally more useful than where the vibration seems to be felt.
Stop the test if the car may be unsafe
Do not continue a road test if the car has a visibly damaged or bulging tire, loose wheel, severe steering shake, grinding or banging, smoke, overheating, an oil-pressure warning, or a rapidly worsening vibration.
Ease off the throttle and stop safely if the check-engine light flashes. Ford owner guidance, for example, says a blinking light can indicate an active misfire capable of damaging the catalytic converter; it advises avoiding hard acceleration and arranging immediate service (Ford owner’s manual). See what to do when a check-engine light flashes before attempting more loaded tests.
Record exactly when it happens
On a smooth, familiar road—and only where traffic and speed limits permit—note:
- Road speed and engine RPM
- Selected gear, if displayed
- Light, moderate, or heavy throttle
- Whether it happens during a shift or after the gear has settled
- Cold versus fully warmed operation
- Straight-ahead driving versus turning
- Whether the steering wheel, seat, floor, or entire body shakes
- Any clicking, clunking, humming, or loss of power
Repeat only as much as necessary to identify the pattern. Do not attempt full-throttle testing merely to make a fault more obvious.
Safely ease off at the problem speed
When the vibration begins, keep a steady course and gradually release the accelerator without shifting to Neutral.
- Vibration stops immediately: Concentrate on faults affected by drive torque—an engine misfire under load, an inner CV joint or driveshaft joint, a powertrain mount, or a transmission-related shudder.
- Vibration continues as the car passes through the same road-speed range: Inspect tires, wheels, hubs, and other speed-related rotating components first.
This is a sorting test, not final proof. GM’s truck vibration procedure likewise begins by duplicating and measuring the condition, then uses controlled testing to separate wheel-and-tire sources from the driveline (GM bulletin PI1354I). Its procedures and numeric limits apply only to the listed Silverado and Sierra models.
Compare road speed with engine RPM
If the owner’s manual permits manual gear selection, reproduce the symptom gently at the same road speed in another suitable gear.
- A vibration that moves with engine RPM supports checking engine operation, an accessory, the flywheel or flexplate area, and mount-related resonance.
- One that remains tied to road speed supports checking tires, wheels, axles, driveshafts, and hubs.
- One confined to a particular shift or lockup event requires transmission data before any fluid or parts decision.
Do not over-rev the engine or force a downshift. A brief stationary check at modest RPM can show whether the vibration exists without vehicle movement, but it cannot reproduce road load or rule out a driveline fault.
Scan the car before clearing anything
Use a capable scan tool to read the available engine and transmission modules. Save confirmed and pending codes, freeze-frame data, and the conditions under which the fault occurred.
If the engine stumbles, power drops, or the check-engine light flashes under throttle, examine misfire counts and fuel-control data during the event if the tool and vehicle support them. A cylinder-specific misfire result directs testing toward that cylinder’s ignition, injector, compression, and wiring; it does not prove that a spark plug or coil is bad. If the engine also shakes at idle, use the separate rough-idle diagnostic path.
Stop the road test if the warning light flashes or the engine begins running severely rough. Inspect and test rather than swapping coils or plugs blindly.
Inspect according to the pattern
Speed-related vibration: tires and wheels first
Check cold pressures against the driver-door label, then inspect every tire for a bulge, tread distortion or separation, exposed cord, scalloped wear, packed debris, and missing balance weights. Confirm that all wheel fasteners are present and tightened to the vehicle specification.
Cupped tread can accompany wheel imbalance, alignment errors, incorrect pressure, or worn suspension parts. Balancing may address an imbalanced assembly, but it cannot restore tread already worn away (Bridgestone’s tire-cupping guide). A shop can measure runout, balance, and road-force variation rather than assuming a visually sound tire is good.
Load-only shudder: inspect axles and driveline
On a front-wheel-drive or independent-suspension drivetrain, inspect the inner and outer CV boots for splits, loose clamps, and thrown grease. Check the shaft and joints for damage or abnormal play using the vehicle’s service procedure. An intact boot does not prove that the joint is unworn.
A shudder during acceleration is more characteristic of an inboard plunge-joint problem than the familiar outer-joint clicking on tight turns, but an intermediate-shaft bearing or engine mount can produce a similar symptom (TrakMotive technical bulletin). Model-specific information matters: GM documented an acceleration vibration caused by half-shaft forces on certain 2024 Chevrolet Traverse and GMC Acadia vehicles with the listed engine and configurations (GM bulletin 24-NA-274). Check bulletin applicability by VIN and equipment; do not generalize its diagnosis or wide-open-throttle procedure to another vehicle.
On rear- or all-wheel-drive vehicles, inspect the driveshaft, U-joints, flexible couplings, and carrier bearing. Clunking when Drive or Reverse is selected, a low-speed squeak, or vibration from beneath the floor strengthens this branch. Worn U-joints, couplers, and carrier bearings are recognized driveshaft vibration sources (MOOG driveline guide). Have a damaged shaft or loose joint assessed promptly; do not run the vehicle on improvised supports.
Smooth engine but body shake: check mounts
A mount becomes more plausible when RPM remains steady, the exhaust note is even, no misfire develops, and the vibration is transmitted strongly into the body only under drive torque. Inspect for torn rubber, separated hydraulic mounts, leaked mount fluid, loose fasteners, or contact between the powertrain or exhaust and the body.
Do not use a DIY “brake-torque” test with someone standing near the engine bay. Follow the model’s service procedure, which may require controlled powertrain loading and specified mount measurements. A visibly worn mount can also be the result of excess movement elsewhere, so confirm that the engine runs correctly.
Do not label every light-throttle shudder a transmission failure
Torque-converter clutch shudder can feel like driving over closely spaced rumble strips during steady, light acceleration after the transmission warms up. GM uses that description for specific Colorado and Canyon applications but also warns that other conditions can be mistaken for TCC shudder (GM bulletin 21-NA-047).
Confirm the branch with applicable transmission data: commanded clutch state, engine speed, turbine or input speed, TCC slip, gear, throttle, and transmission temperature. GM’s model-specific diagnostic guidance shows why the data matters: one engine-related shudder pattern changes calculated engine torque, while a torque-converter pattern shows elevated TCC slip with relatively steady throttle and engine torque (GM bulletin 22-NA-015). Its thresholds and repair instructions apply only to the vehicles listed in the bulletin.
Do not add a universal transmission additive or order a converter from the sensation alone. Verify the exact transmission, applicable service bulletins, fluid specification, level-check temperature, and measured slip behavior first.
The shortest useful diagnostic order
- Stop for warning lights, tire damage, severe shake, or harsh mechanical noise.
- Document speed, RPM, gear, throttle, temperature, and shift timing.
- See whether easing off changes the vibration while the car passes through the same speed range.
- Scan the relevant modules and save codes and freeze-frame data.
- Inspect tires and wheels before blaming the driveline.
- Inspect CV axles or driveshaft joints when the vibration is load-dependent.
- Evaluate mounts only after confirming the engine runs evenly.
- Use TCC slip and transmission data before calling it converter shudder.
The correct repair follows the measured pattern. “Vibrates when accelerating” is the starting condition—not the diagnosis.