
Coolant Smell: Safe Checks and Tests to Find the Source
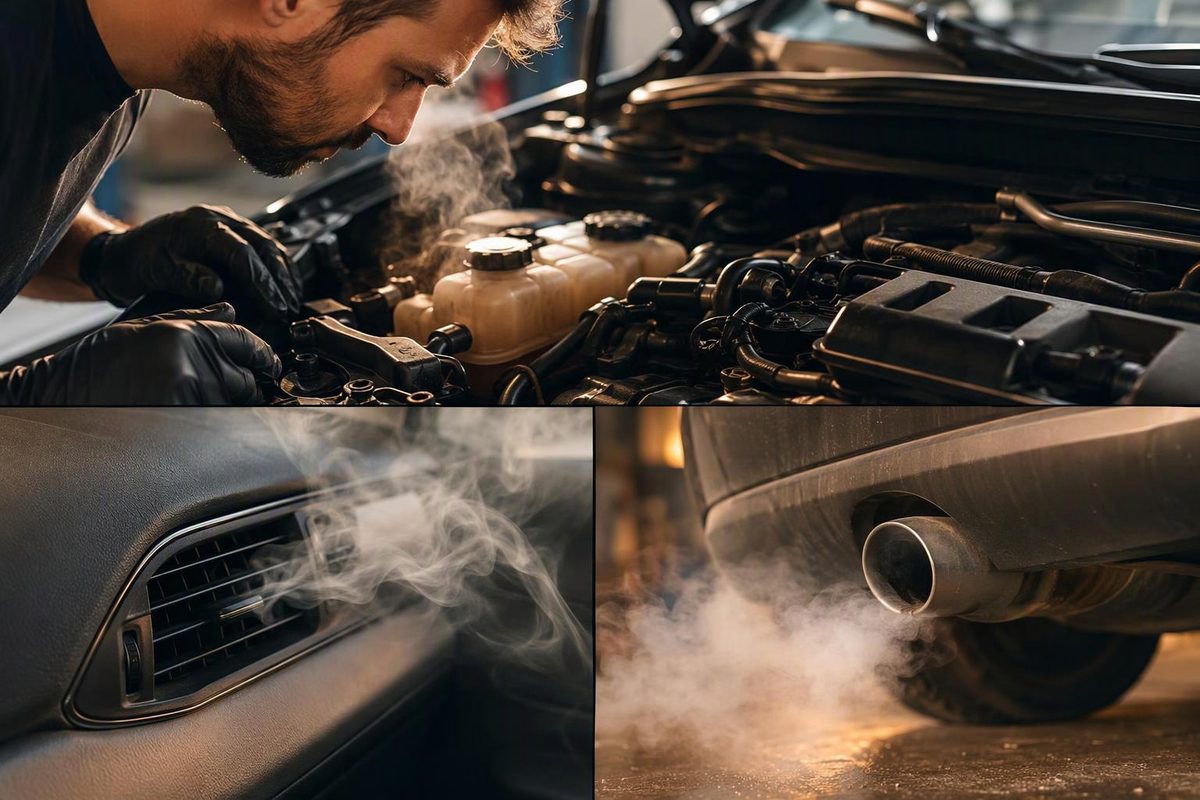
Trace a coolant smell under the hood, through the vents or near the exhaust with cold checks and pressure testing—and know when to stop driving.
A sweet, syrup-like smell around your car is a reason to check for escaping engine coolant. It is a clue, not a diagnosis of a heater core, water pump or head gasket. AAA identifies this odor as a common sign of a coolant leak.
Start with three observations: where the smell is strongest, when it appears, and whether the coolant level is falling. Those determine the next test.
First, decide whether to stop driving
Pull over safely and shut the engine off if the temperature warning appears, the gauge moves into the hot zone, or steam is escaping. Continuing to drive an overheating engine can cause severe damage. AAA’s temperature-warning guidance recommends stopping and allowing the engine to cool.
Also stop if windshield fog or film prevents a clear view. Arrange a tow if coolant is pouring out, the reservoir is empty when checked cold, or overheating returns. Adding coolant does not repair the leak.
Do not loosen a radiator or pressurized reservoir cap while the system is hot or the engine is running. Wait until the engine is off and the system is fully cold before opening it; hot coolant and steam can cause scalding. Coolant level also changes with temperature, so compare cold readings with cold readings. Ford’s coolant-check instructions explain both hazards.
A smell alone does not establish that the car is safe to drive. If there is no overheating, steam or visibility problem, begin with the cold inspection below rather than driving further to reproduce it.
Check the cold level and look for residue
With the vehicle parked level and the engine off and cold:
- Identify the correct reservoir. Use the owner’s manual, especially if the vehicle has multiple cooling circuits. Check against its specified cold-level marks.
- Record the level. Photograph it and note the date, mileage and any recent coolant work. A later cold-level drop is more useful evidence than smell intensity.
- Inspect accessible joints and housings. Look around the reservoir and cap, radiator seams, hose connections, thermostat housing, water pump area and heater-hose connections at the firewall. Look for fresh wetness and dried deposits. Do not reach near fans or belts, and never crawl underneath an unsupported vehicle.
- Check recent service areas. Was coolant spilled during a refill or repair? Clean accessible residue with the engine cold, then recheck for fresh wetness. Do not assume every recurring odor is an old spill.
GM’s coolant-odor diagnostic bulletin calls for inspecting the water pump, thermostat housing, heater core and surge tank, and emphasizes removing residual coolant to eliminate lingering odor. Bulletin PI0740A applies specifically to 2011–2012 Chevrolet Cruze models with the 1.4L LUJ engine; its component checks are useful inspection leads, not a universal repair prescription.
If you find a puddle, use the antifreeze-leak identification guide before deciding which fluid is escaping. Never taste a fluid to identify it.
Use the smell’s location to choose the next check
Strongest under the hood or after parking
Inspect the engine-side cooling components first. A dry driveway does not replace a leak test: the relevant evidence may be wetness or residue around a component rather than a puddle underneath.
If the source remains unclear, move to a cold pressure test. Do not replace a pump or cap simply because the odor seems strongest nearby.
Strongest through the vents
Check for a recurring greasy windshield film, dampness around the heater housing or footwells, and coolant loss. Damp carpet alone does not identify the fluid. A leaking heater core can send coolant mist through the ventilation system and leave a film on the glass, as explained in Ray Magliozzi’s Car Talk diagnosis.
But vent odor does not prove the heater core is leaking. GM documented another path on the 2011–2012 Cruze 1.4L LUJ: reservoir-overflow vapor could collect under the hood and enter the cabin through gaps in the hood-to-plenum seal. Its procedure checks for leaks before addressing seals and overflow routing. GM PI0740A
Inspect both the heater circuit and the under-hood area before authorizing dashboard removal.
Near the exhaust, with white smoke and coolant loss
This combination needs an internal-leak investigation, not a smell-based head-gasket verdict. The possible leak path depends on the engine.
For example, Ford SSM 48345 directs technicians to inspect and pressure-test the EGR cooler first on affected 2019–2020 Edge, Escape, Nautilus and Corsair vehicles with the 2.0L EcoBoost when low coolant, white exhaust and related symptoms occur.
Use the white-exhaust diagnostic guide to separate warm-up condensation from a persistent problem. Avoid deliberately inhaling exhaust to judge its smell.
Pressure-test before buying parts
A cooling-system pressure test can expose leaks without running the engine. If you have the correct adapter and vehicle service procedure:
- Start with the system cold and depressurized.
- Install the specified adapter and hand-pump tester.
- Pump only to the vehicle manufacturer’s prescribed test pressure, without exceeding the tester’s rating. Follow the vehicle procedure’s hold-time and allowable-loss criteria; there is no single pressure or pass/fail threshold for every vehicle.
- Watch the gauge while inspecting for fresh leakage.
- Release test pressure to zero before disconnecting the equipment.
Eastwood’s pressure-test instructions specify a cold system, the correct adapter, manufacturer-recommended pressure and pressure release before removal. If you cannot confirm the vehicle’s test specification or adapter fit, have a shop perform the test rather than guessing.
Interpret the result before choosing a repair:
- Fresh coolant appears: trace it to the actual joint, seal or housing, rather than replacing the component below the drip.
- Pressure falls but no leak is visible: check tester connections and adapter sealing first, then investigate concealed or internal leakage using the vehicle’s service procedure. Gauge loss alone does not identify a head gasket.
- Pressure holds but the smell returns: the leak has not been reproduced. A vehicle-approved coolant tracer dye and inspection after a thermal cycle may help; GM uses that approach in PI0740A. Leave running-engine inspection to someone equipped to work safely around hot and moving components.
After repair, repeat the applicable leak test, refill with coolant meeting the vehicle’s specification, bleed according to its procedure, and clean remaining coolant residue. Verify a stable cold level. If the odor returns, look for fresh leakage before deciding that another part has failed.